Find tutorials, learn new skills, shop original illustrations & more.
How To Fill Out A Color Chart With Alcohol Markers
This post may contain affiliate links. Please read my disclosure policy.
Here’s how to fill out a color chart or swatch sheet using alcohol markers – so you have a quick reference of your colors to keep handy.
Color charts – you either love them or loathe them. Either way, they make choosing colors for your project take just a fraction of the time.
Why It Matters
The main goal when filling out the color chart is accuracy. It should be your only reference. Here’s why other solutions just don’t work:
Marker caps are inaccurate – most of the time.
Finding color swatches online will look different depending on your screen settings, color profile of your decvice, even the backlight and ambiance.
Photos of other people’s color charts are going to look completely different depending on the lighting and camera settings.
Even scanned versions of color charts rely on your computer’s color profile.
Printing out a completed swatch sheet converts RGB color profile of the image into CMYK, so it won’t be accurate.
None of this even mentions the paper – which will change how your markers look. You should ALWAYS do your swatch sheet on the paper you usually color on.
Filling In Your Color Chart
After printing, wait 20 minutes minimum. This is to ensure all of the printer ink has dried. I’ve definitely ruined a couple swatch sheets going in with a light yellow too quickly.
If you’re swatching a large set like Ohuhu, it’s easiest to have a working pile and a done pile of markers so they don’t get mixed up. It’s also the perfect opportunity to organize the markers while you’re at it.
This is the most important thing to remember, you should only do a single layer of the alcohol marker when swatching. Alcohol markers are transluscent, so they darken as they layer. You want to be able to see the lightest the marker will go, not the darkest.If you have a swatch sheet or color chart that has enough space, you should do one pass, then halfway through, do a second pass, then in the last third, do a third pass to see the effects of the layers. Most hex charts and basic color charts won’t have enough space for this, but the Copic swatch cards and some other color charts have space for it.
Triple check your marker before you swatch. If you’re working with something like Copic, don’t check the caps for the number, use the barrel of the marker (just incase a cap was put on wrong). If you make a mistake, you will need to start over. You could also cut a square out of a spare piece of paper that fits the swatch, and glue it over top.
As you go into your darkest colors, like black and your darker greys, you won’t be able to read the black number for your colors. I like to use a white Posca paint pen, Sakura gelly roll pen, or a Uniball signo white to write the number in once I’ve done that color.
How To Keep Your Color Chart From Fading
Alcohol markers are not lightfast. They will fade and change color over time. To make your color chart last as long as possible:
Do not store it in direct sunlight. I like to just use a file folder to tuck it into when it’s not in use.
Keep out of heat and humidity when possible. If you have a particularly humid or hot climate, try to keep your swatch chart in a cool, dry place.
Tips I Swear By
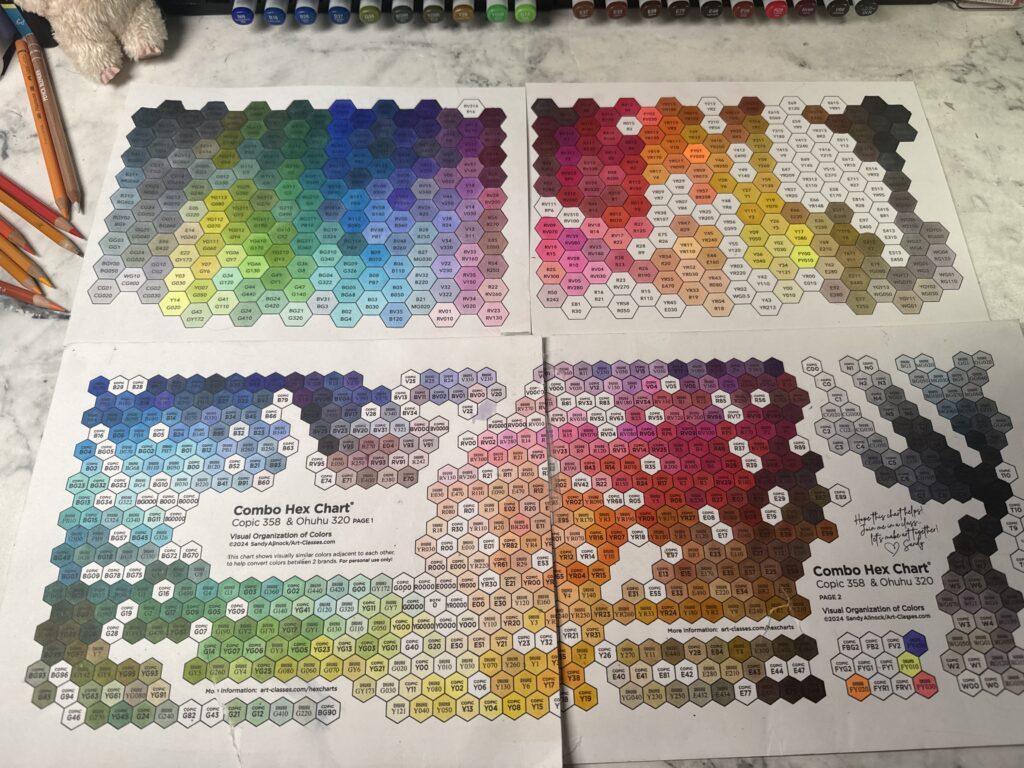
Date your color chart. No matter how much you avoid light, heat, moisture, 6 months is the expiry date. I’m going to show you what 6 months of fading looks like on this hex chart (this is Copic Sketch markers, and Ohuhu Honolulu B. Whether or not you think it’s faded, it has faded.
If you have a laminator, laminate your swatch sheet once it’s filled in. It’s going to be next to you for every project for the next 6 months. It will get folded, crumpled, spilled on, and sat on (I never said I was an elegant person, okay?) Laminating keeps it pristine, and doubles as something you can write on. I like to use a sharpie and mark colors with a red or black dot I own refills for, or need to purchase refills for. If you don’t have a full set (and swatch sheet), you can mark the colors you want to purchase next so you know what you need.
Keep a big, full sized swatch sheet. Swatch cards, mini versions, multi page flip books, I’ve tried it all. Nothing compares to having a big, easy to see, master copy of your swatch sheet. I’ve used my other swatch methods like twice ever, I consider the main swatch sheet my Bible.
When your chart is past the 6 month period, don’t throw it out! Use it to write down colors to replace, refills needed, colors you’d like to add, etc. Below is an old swatch sheet I did this with. There was something so satisfying about getting to scribble all over it and use it as a planner page.
My Favorite Color Charts
Please note, color charts are inexpensive, but a paid product. It takes a TON of work to create one well. I’m not earning a comission from these recommendations, they’re what I use daily.
To make a swatch sheet, you need to individually swatch each marker, cut them into little squares, lay them out and rearrange until it works cohsively, then scan, then make the chart… Its a whole process. It’s SO worth the small payment to get a properly done chart, rather than one that is thrown together in no rhyme or reason order (cough cough, ohuhu)…
Don’t just use one color chart. When you’re looking for color combos, or choosing markers to use together, using a single color chart is going to plateau your progress quickly. These are my go-to sheets:
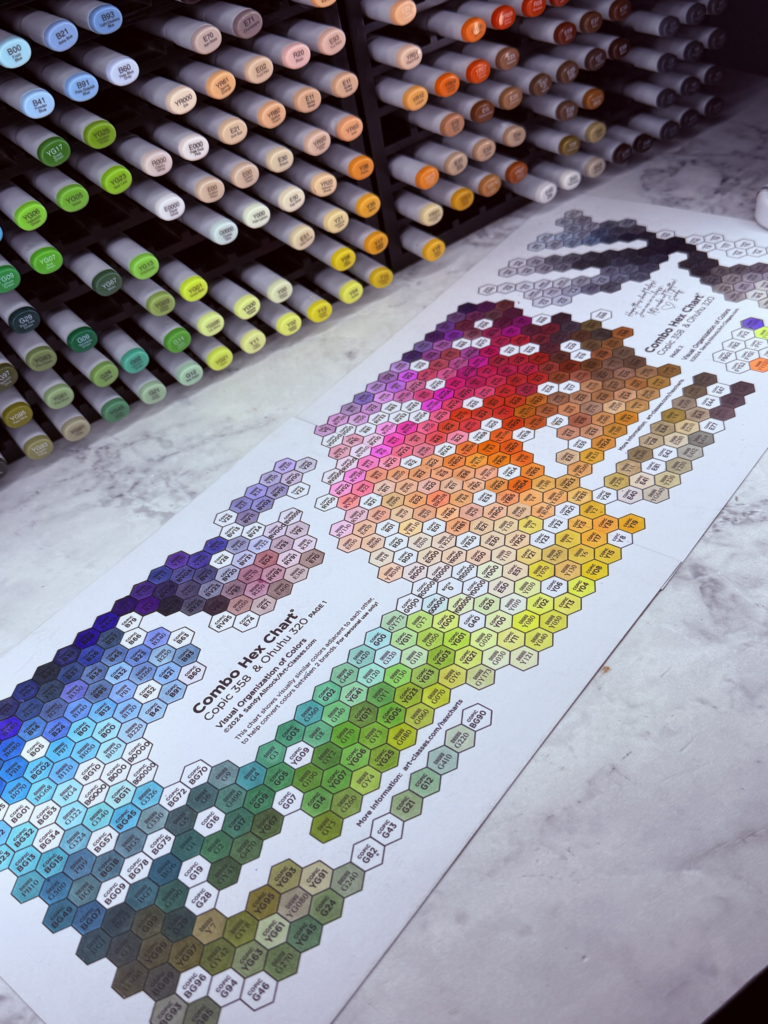
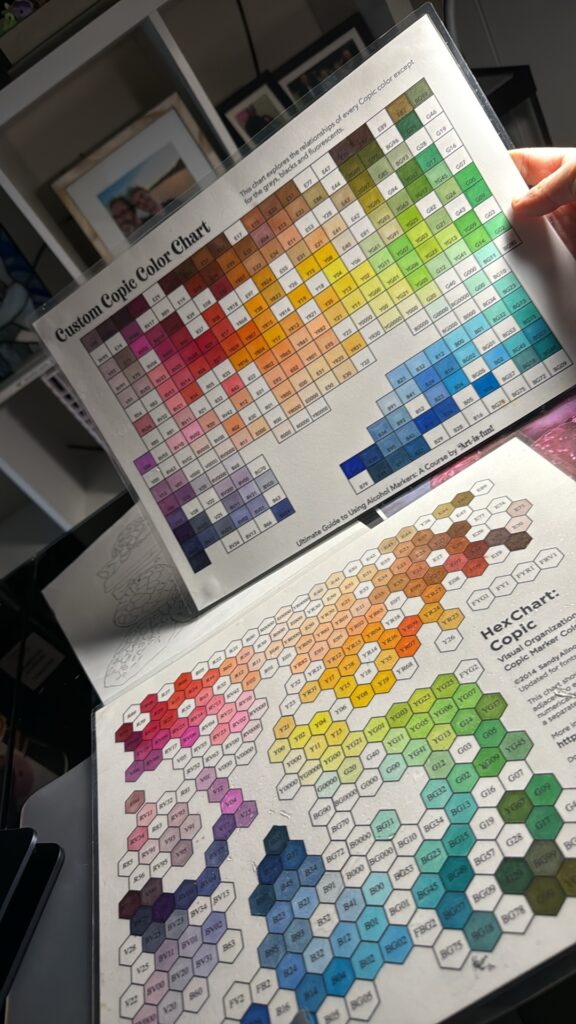
First, is the OG hex chart by Sandy Allnock (I use Copic sketch and Ohuhu. She has a combined hex chart with both sets. It took 3 agonizing days to swatch, but it was so worth it. I also use a single hex chart for Copic, and third for Ohuhu. Sandy has hex charts for almost every brand, so even if you’re using a different brand marker, check to see what she has. There are also hex charts for colored pencils and other mediums, while I’ll cover filling in on a different post (colored pencil can be a bit finicky to swatch compared to alcohol markers).
Hex charts are designed to be used to help you find color combinations that will blend together. She has a crash course on how to use them if you are interested as well.
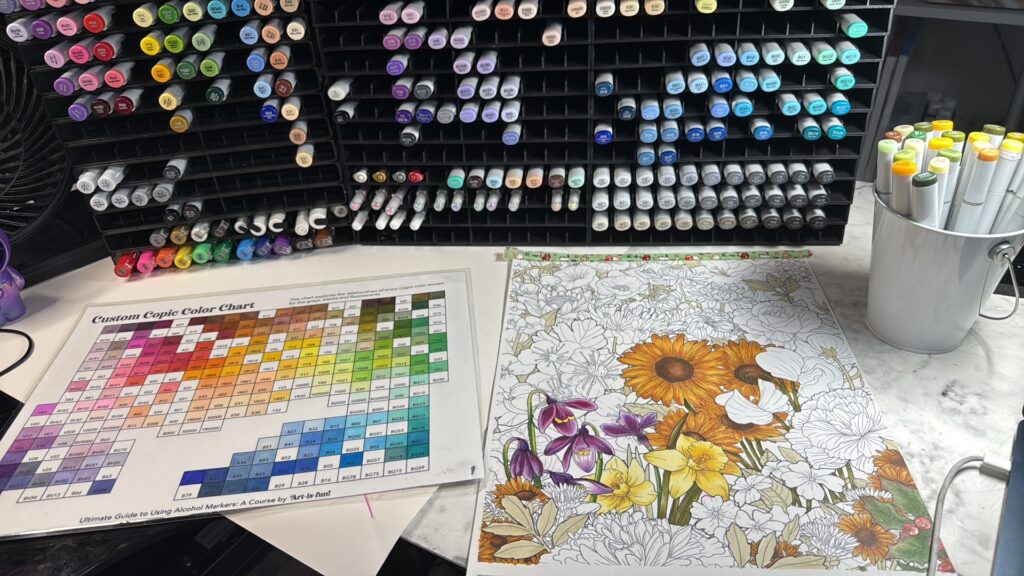
Finally, I use the custom copic color chart from Art is Fun. This is the first and best color chart I ever used. For almost a year of coloring, I organized my markers to match this color chart, so I could reference it as I put my markers away. It’s my favorite color order.
Both color charts are organized in a cohesive, gradient-like way. But the markers are in vastly different spots. When you can’t quite decide on a color combo, swap between your charts. You may see a couple colors you never thought to experiment with.